A Guide to Ninja Warrior 6
Original article written by HC12345
Ninja Warrior 1 marked the start of many community events in Minr. 5 Ninja Warrior tournaments later we prepare for Ninja Warrior 6, the course still not having been conquered. For the first time ever, I'll provide an in-depth guide for how to defeat these tough obstacles and maybe it'll help a future winner. I hope you enjoy this guide!
From Russia Minr with love,
HC12345
Stage 1
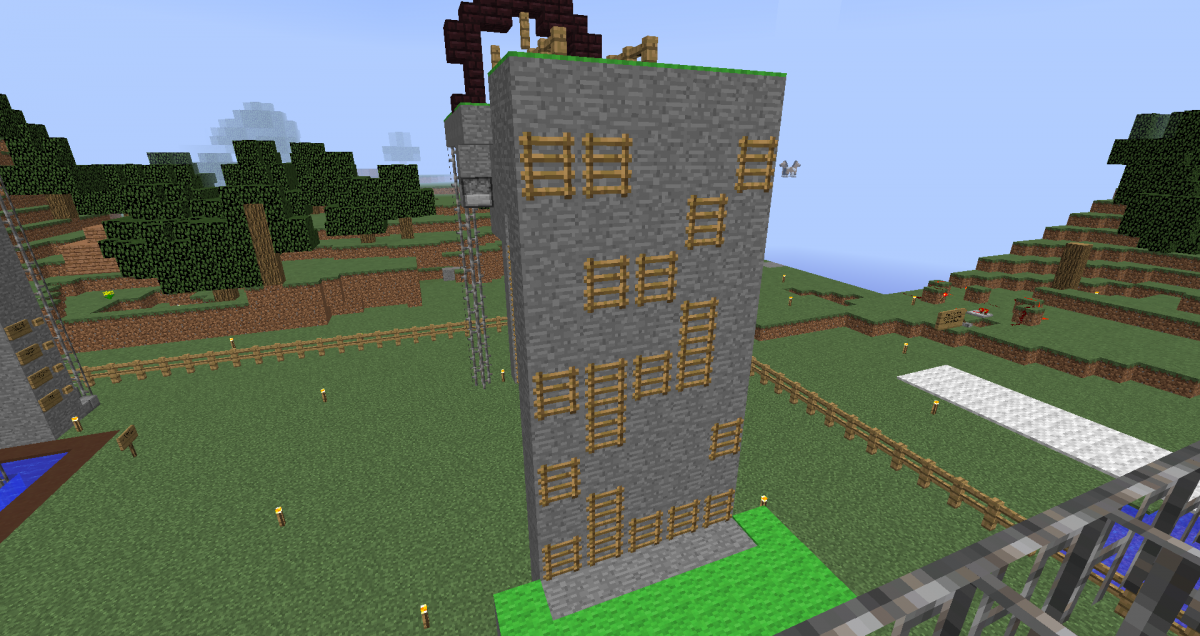
Overview (1) Quad Steps (2) Giant Cycle (3) Reverse Jump (4) Jumping Spider (5) Halfpipe Attack (6) Warped Wall (7) Slider Jump (8) Final Climb
Time Limit: 85 seconds
Quad Steps
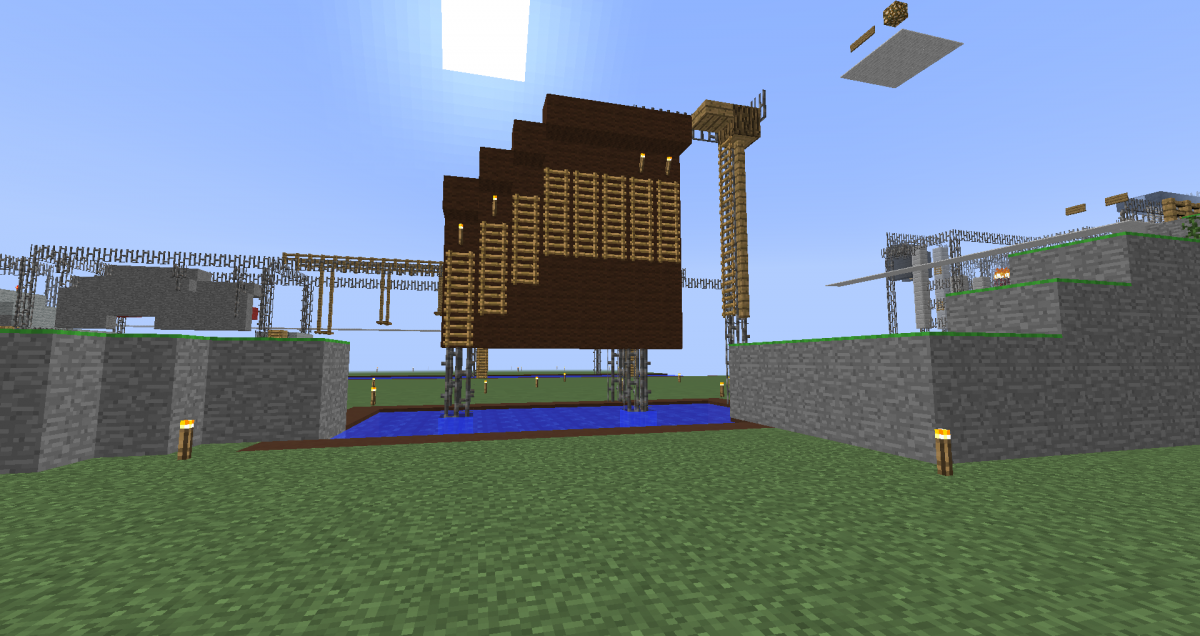
The first obstacle of the Stage 1, the Quad Steps - once a rather hard monster that took out a lot of competition back in Ninja Warrior 1, since then it has been simplified to what it is right now. You are required to jump on all four of these "steps" or platforms.
This now simple and easy obstacle serves as an easy warmup for what is to follow. Feel free to either take your time and jump between these platforms slowly and safely, or do it fast without stopping.
Giant Cycle
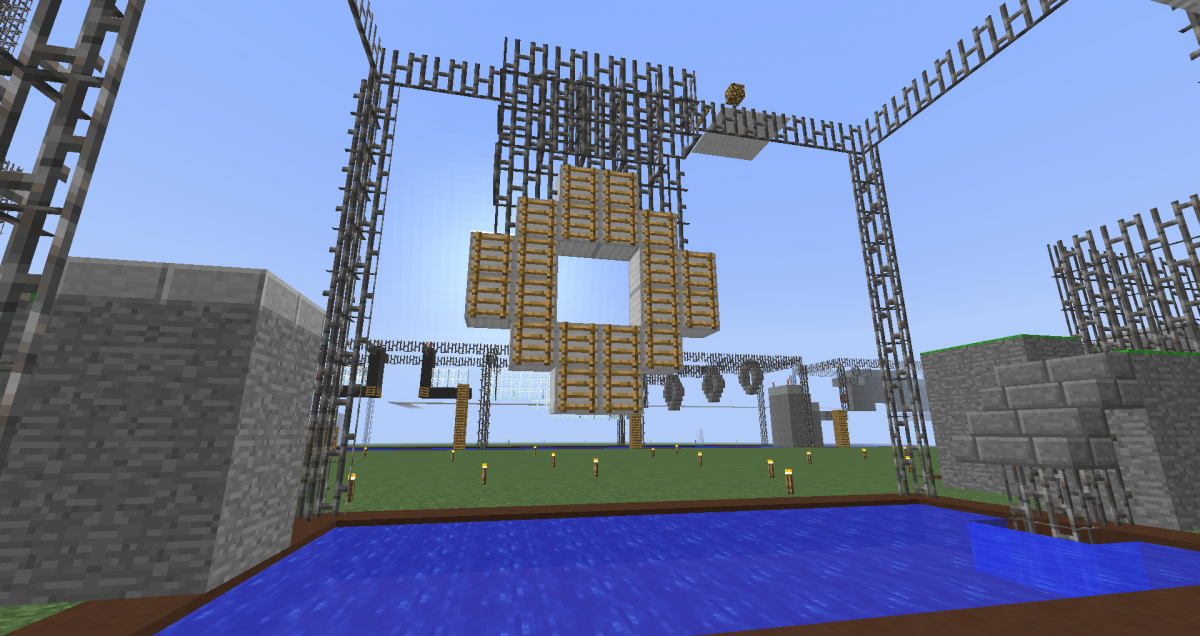
This next obstacle is also very straightforward, based off an obstacle featured in the American course in Las Vegas a few seasons back. Jump from one side onto this ring-shaped structure, get on top of it at the other side and jump off onto the slanted platform ahead.
Reverse Jump
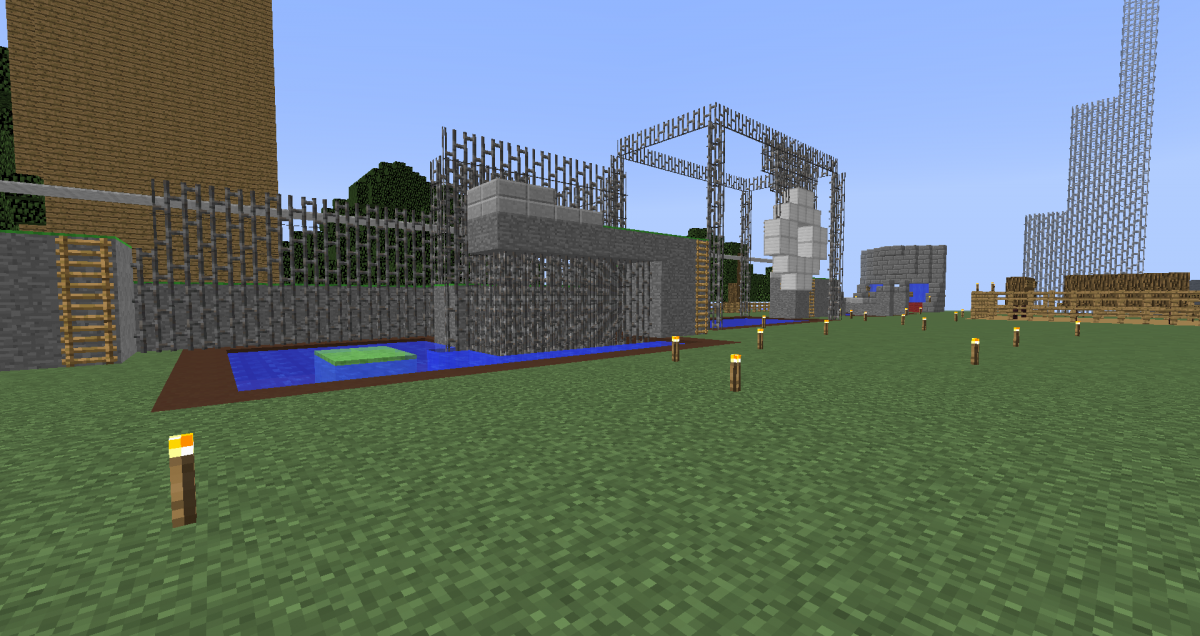
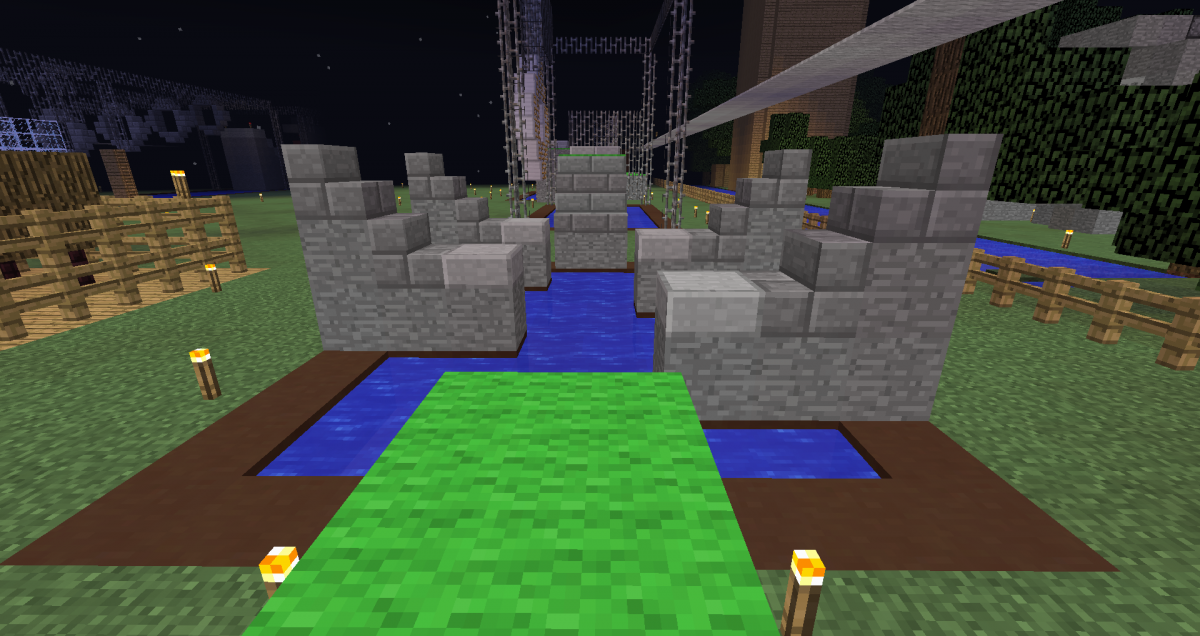
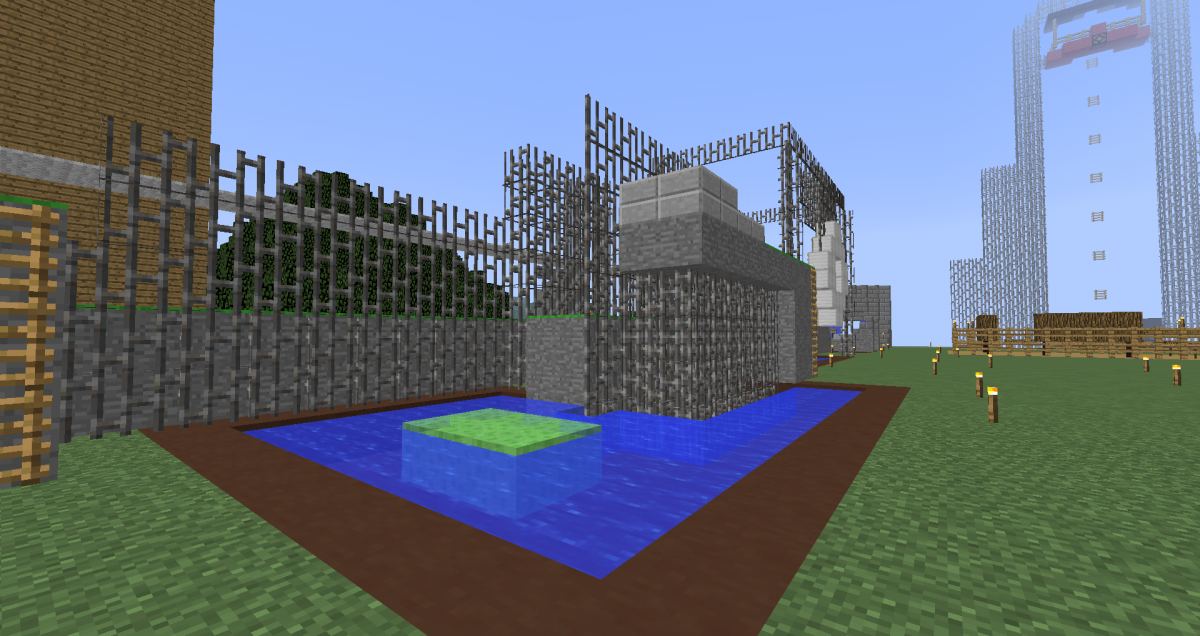
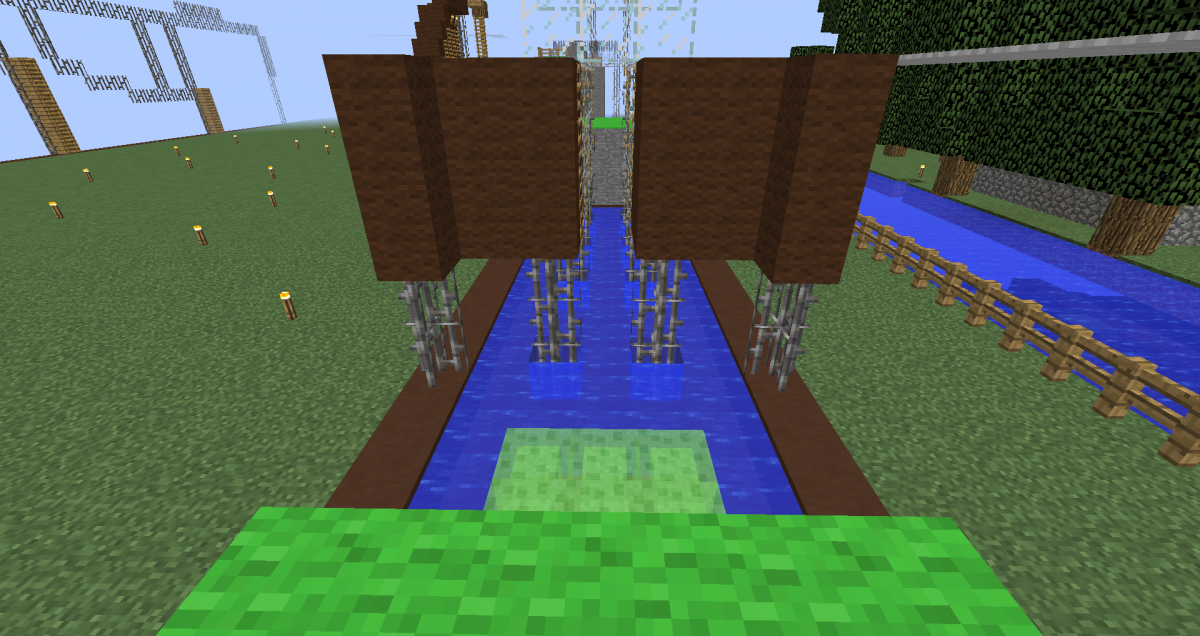
This is a new obstacle introduced for Ninja Warrior 6, the Reverse Jump. Utilizing Minecraft 1.8's new slime block, players jump off the higher end (on the right), bounce on the slime block and land on the lower platform to the left.
It is possible to bounce both once or twice on the slime. Personally I prefer jumping only once on the slime block, I feel like it allows more room for error. Then once again, it's only personal preference and for you to experiment. Also, a golden rule of jumping on slime blocks that apply to every single obstacle involving these blocks: Never jump again, let the slime block do the work. Do activate your sprint key though.
Jumping Spider
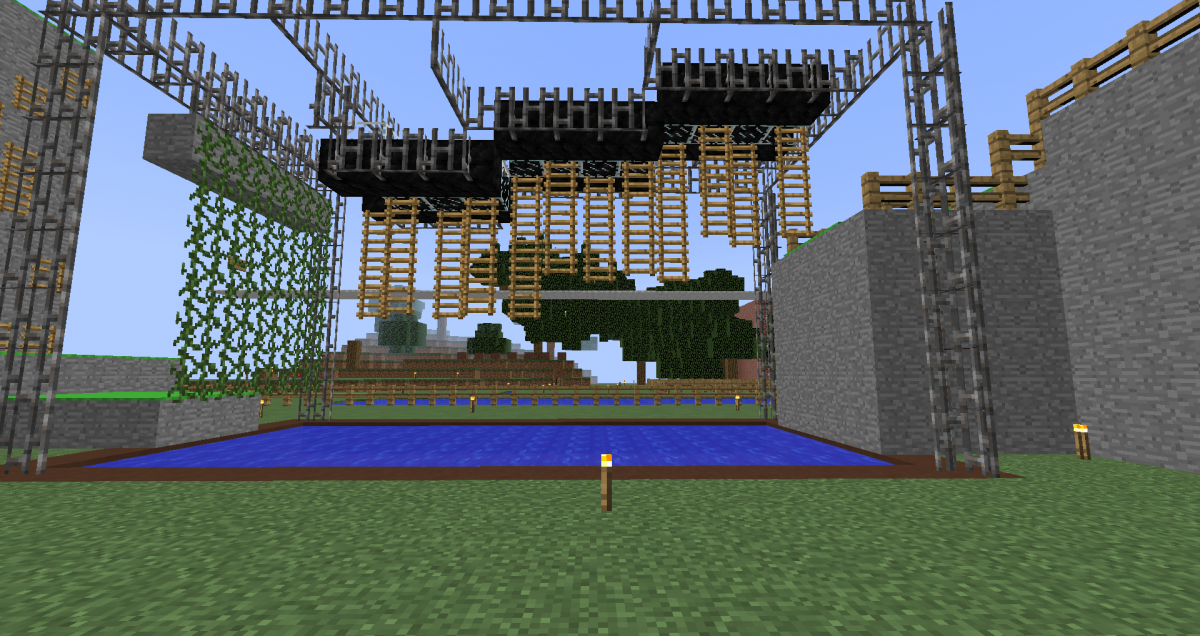
This is an obstacle that has been here for every single tournament since Ninja Warrior 1, except this time it's been modified. A slime block "trampoline" has been added for a slightly increased difficulty. It's not hard but you still have to be super careful - line up your jump with the ladders in the opening of the wall and you'll be fine. Common rookie mistake at the end of the Spider Walk section, they forget to unshift as they exit the wall and fall into the water at the end. Always unshift from the ladders to make it onto the platform at the end.
Halfpipe Attack
Another obstacle that has been here the whole time is the Halfpipe Attack. A relatively simple obstacle, hold shift and climb for the "halfpipe" section and unshift as you transition onto the ladder hanging on the side and onto the platform.
Warped Wall
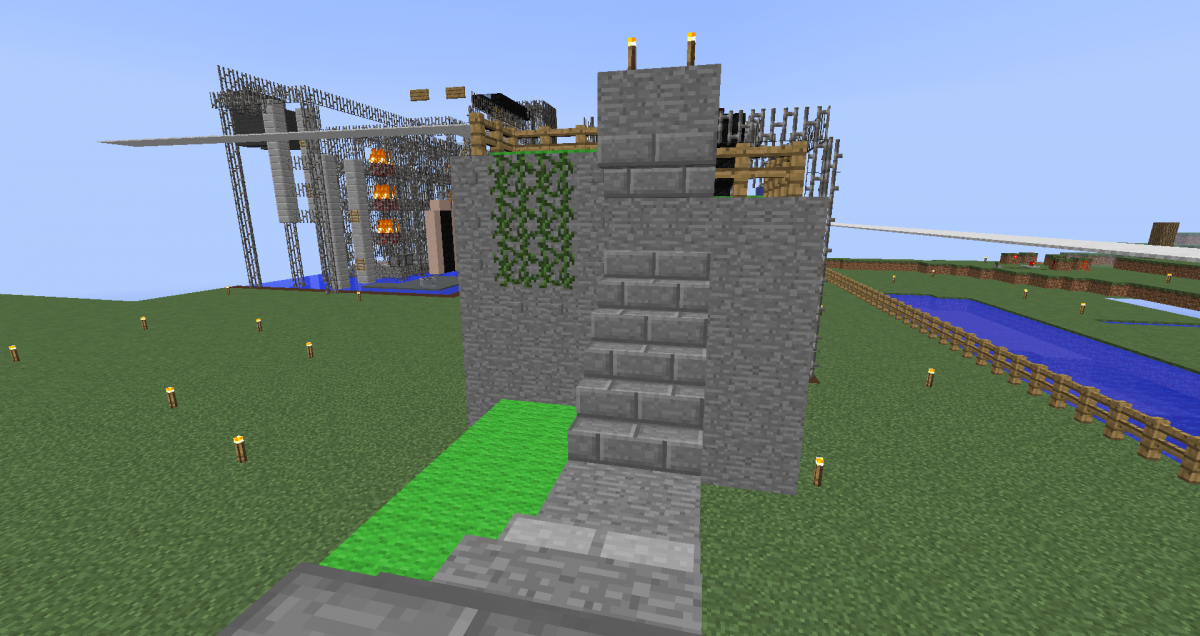
A classic, the Warped Wall is one of those obstacles that allow unlimited attempts until they time out. Despite how simple it looks, it is often overlooked especially by newer players and when they take multiple attempts to clear it it often costs them precious time. I suggest starting at the right side of the wall, then line up your run so it's a straight line from where you start to the jump to grabbing the vines. Always remember to hold shift as you hit the vines, then climb up.
Slider Jump
Arguably the hardest obstacle in Stage 1, the Slider Jump is essentially the gateway to Stage 2 (provided you have enough time left on the clock). Many people tend to struggle with the transition from the ladders to the vine net, and then from that onto the platform. Beating this obstacle is all about getting a nice height on the vine net so that you can easily make the platform.
For example, a really common mistake people make with these obstacles is they tend to go to the top of the ladder, slide off aiming for where they want to go and hope for the best. In this case here, if someone were to get to the top of that final ladder, slide off onto the vine net, they'd likely place low and give themselves a hard time, potentially leading to them failing the obstacle. Placing high on the net is all about momentum from the ladders. If people did what was described above, they would have little to zero momentum. The most reliable way to generate this momentum to place high on the net is to stay low up until the transition, where you slide up (diagonally, you want to move forward at the same time as well). With this upwards motion at the end (as compared to the horizonal/downwards motion at the end in the wrong example), you get the momentum needed to place high on the net so life is easy for you to reach the platform from the net.
As for the transition from the net to the platform, just like getting off ladders - you do not want to hold shift for the entire duration. When you approach the net, start shifting, and when you're about to get off, unshift. Take your time to practice getting on and off the net to figure out the best timings for when to shift and when to let go.
Final Climb
The final obstacle to wrap off Stage 1 is the Final Climb. Simply a climbing wall littered with ladders, there are many ways to get up the wall, so test it out and see which path you feel most comfortable with!
